Getting a car ready for a teenager to drive
Before a teenager takes over a car, check tires, brakes, lights, visibility, fluids, and emergency supplies. Use this practical safety checklist.
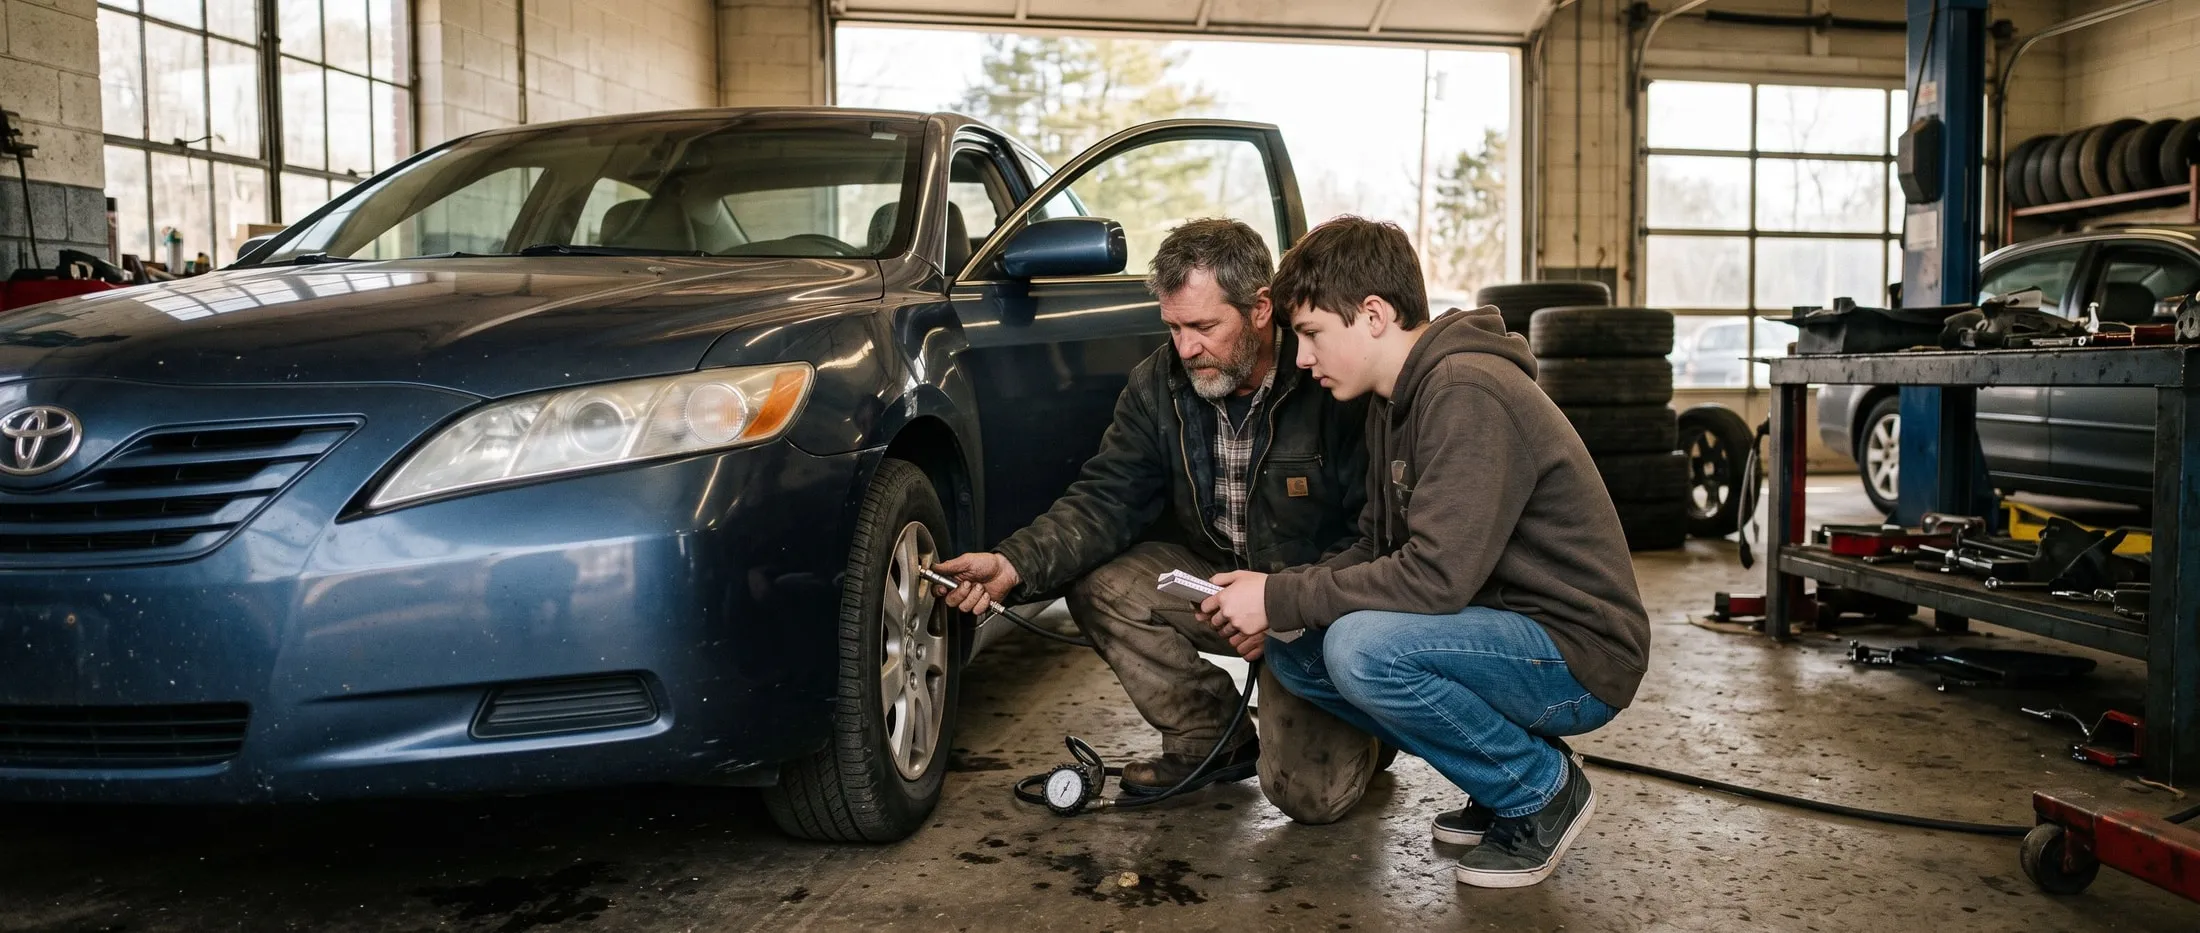
Handing a teenager the keys should include more than teaching them where the gas cap is. A new driver benefits from a car with dependable tires, brakes, lights, visibility, and maintenance records, plus simple rules for reporting a change early. The goal is not to turn a teen into a technician. It is to give them a repeatable way to notice a problem, decide when to pull over, and get help before an ordinary warning becomes a stressful roadside situation.
Do a daylight walk-around together
Use a calm afternoon and let the new driver perform the checks, rather than simply watching someone else. Find the cold tire-pressure placard, then inspect tire tread and sidewalls for damage. With a helper, confirm headlamps, brake lamps, turn signals, and hazard lights. Check mirrors, washer fluid, and wiper sweep so rain does not reveal worn blades on the first nighttime drive. Sit in the driver’s seat and identify the fuel gauge, temperature indicator, warning lamps, defroster controls, and hazard switch. A five-minute familiarization now is more useful than searching for a control when traffic is moving.
Locate the equipment that matters
Open the trunk or cargo area and find the spare tire or inflator, jack, lug wrench, locking-wheel key, owner’s manual, registration, insurance card, and roadside-assistance contact. Read the spare tire’s label together: a compact temporary spare has speed and distance limits. Confirm the jack fits its storage point and is not buried under sports gear or school supplies. Add a small weather-appropriate kit with a phone cable, flashlight, water, and any necessary medication. The kit should be easy to reach, not a substitute for calling for help in an unsafe location.
Agree on non-negotiable stop rules
Make it clear that a flashing warning lamp, overheating, smoke, fuel smell, suddenly soft brake pedal, flat tire, severe vibration, or major steering change means pull over safely and call. There is no reward for driving through a symptom to get home. Practice the sequence: signal, choose a safe place, turn on hazards, stay aware of traffic, and call a parent, roadside assistance, or emergency services as conditions require. The driver does not need to diagnose the sound on the shoulder.
Build an early-reporting habit
Ask for a message about hard starts, new noises, warning lights, wiper streaks, pulling while braking, or a tire that needed air. Include when it happened, weather, and whether it continued after restarting. Keep maintenance and inspection dates somewhere the family can find them. Lloyd’s can provide a vehicle-condition inspection for families in Sandston, Highland Springs, Varina, Henrico, and Richmond. Clear records and clear stop rules give a teen more confidence while qualified service handles the diagnosis.
Keep the first car’s maintenance simple
Put oil-service, inspection, tire-rotation, and registration dates in a shared calendar. Use the owner’s manual schedule, not an assumption based on an older family vehicle. Before a long drive, parents can review fuel range, route, weather, and the rule against driving while fatigued or distracted. Encourage questions about an unfamiliar dashboard symbol before a trip. A reliable first car is a partnership between a driver who reports changes promptly and adults who schedule maintenance before the reminder becomes overdue.
Rehearse the phone call before it is needed
Ask the new driver to practice describing their location, vehicle, warning light, and immediate safety condition without using the phone while driving. They should know who to call first and when 911 is appropriate. The simple script reduces panic: “I am safely parked, the car is off, and this is what changed.” It reinforces that asking for help is the correct decision when road conditions or vehicle symptoms feel unsafe.
Put the roadside-assistance number in the teen’s contacts before the first solo trip, not after an incident.
Practice a tire-pressure check at home
Show the teen how to remove a valve cap, seat a gauge, read the number, and replace the cap without guessing from the tire’s shape. Use the door-jamb placard as the reference and explain why the sidewall maximum is different. They do not need to inflate a tire on a busy road, but understanding the measurement makes a TPMS message less mysterious. A parent can schedule repair if the same tire is low again after a few days.
Set boundaries for passengers and cargo
Before friends ride along, explain that everyone must use a seat belt and that the driver’s footwell must stay clear. Loose bags, sports equipment, and drink bottles can interfere with pedals or visibility. Keep rear-window visibility in mind when packing. These ordinary habits support the mechanical checklist by making the car controllable and the driver less distracted during the first months of independent trips.